
This Black Huckleberry pie is the herald of summer- sun soaked fruits, juice filled and heavy, falling from the stem. Lingonberries and Black Huckleberries make a great pair- a blend of cranberry-like tartness and blueberry-like intensity. Combined with lemon zest, once you have these berries simmering, your kitchen will sing sunshine with this bright and jammy pie.
Since the beginning of the season at the nursery I’ve been eyeing the huckleberry and lingonberry bushes and was delighted to make this pie! This was my first time baking with the pair, and my first time trying lingonberries, aside from Swedish Lingonberry jam. Lingonberries are tart so I kept that in mind with the sugar ratio. Feel free to adjust accordingly.
Traditional pie crust can be tricky. There are many variations (all-butter, half lard/shortening, and everything in between) which require careful considerations with the temperature of ingredients when handling. For all of you pie crust rockstars out there I salute you and encourage you to use your favorite recipe. But if you are one of the many people who have given up on making homemade pie crust I encourage you to try this recipe. Whenever I feel like taking it easy I use this tried and true quiche crust recipe. It differs from traditional pie crust in that it includes egg. It’s simple, quick, and foolproof.
RECIPE
Prep time: 2 hours 15 minutes Cook time: 45 minutes Total time: 3 hours
One 9" pie PIE CRUST INGREDIENTS
● 2 large eggs
● 5 tablespoons ice water
● 3 cups all-purpose flour
● 1 teaspoon sea salt
● 1 ¼ cup unsalted butter, sliced into small cubes
*MAKES A TOP AND BOTTOM PIE CRUST. Depending on the size of your food processor, you may need to make this in two batches. I have a smaller food processor so I divide the ingredients in half and make it in two batches. This also helps in evenly dividing the bottom from the top pie crust.
INSTRUCTIONS
1. In a small mixing bowl, whisk together the egg and ice water. Set the bowl aside.
2. In the bowl of a food processor, add the flour and salt. Pulse briefly until mixed. Add in the cubed butter pieces and pulse until the mixture resembles coarse meal. Add in the egg/ice-water mixture. Pulse again until a lovely dough forms. The food processor will gather all of the ingredients and the dough will form a ball that cleanly pulls away from the sides.
3. Transfer the dough onto a lightly-floured board (if you made all of the dough in one batch, divide evenly into two). For the bottom crust, roll out one portion of dough until it’s about 1/8″ thick and approximately 1″ wider than your pie plate. Make sure to keep rotating the dough as you roll, to keep it from sticking. Carefully transfer to pie dish and press into dish. Trim off excess around the edges. Transfer to fridge to cool.
4. For the top crust, mold the next portion of dough into a small disk (about 4 in. diameter) and wrap to store in the refrigerator.*
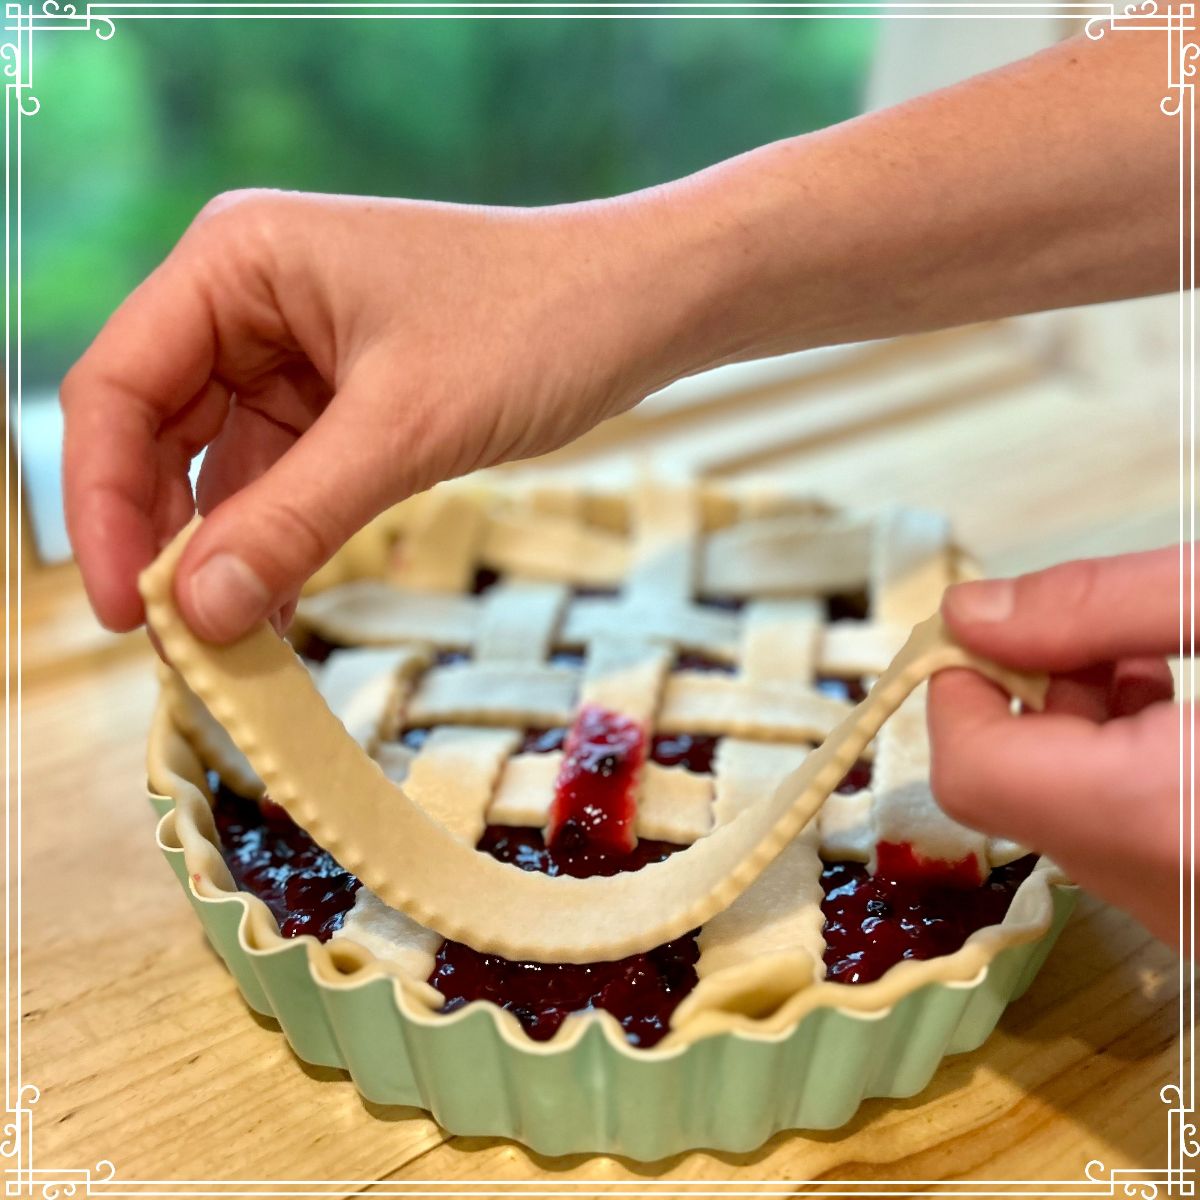
5. Refrigerate dough while making and cooling the filling. For a flaky pie crust it’s important that the crust is cold when it’s filled and cooked. *If you would like to create a lattice for the top of the pie as shown in pictures, divide one of the dough discs in two and wrap each disc separately. Store in the refrigerator. While the pie crust is in the refrigerator, make the filling. NOTE: Both the crust and filling can be made separately and stored in the fridge for up to 24 hours. Pie can be assembled and baked at a leisurely pace.
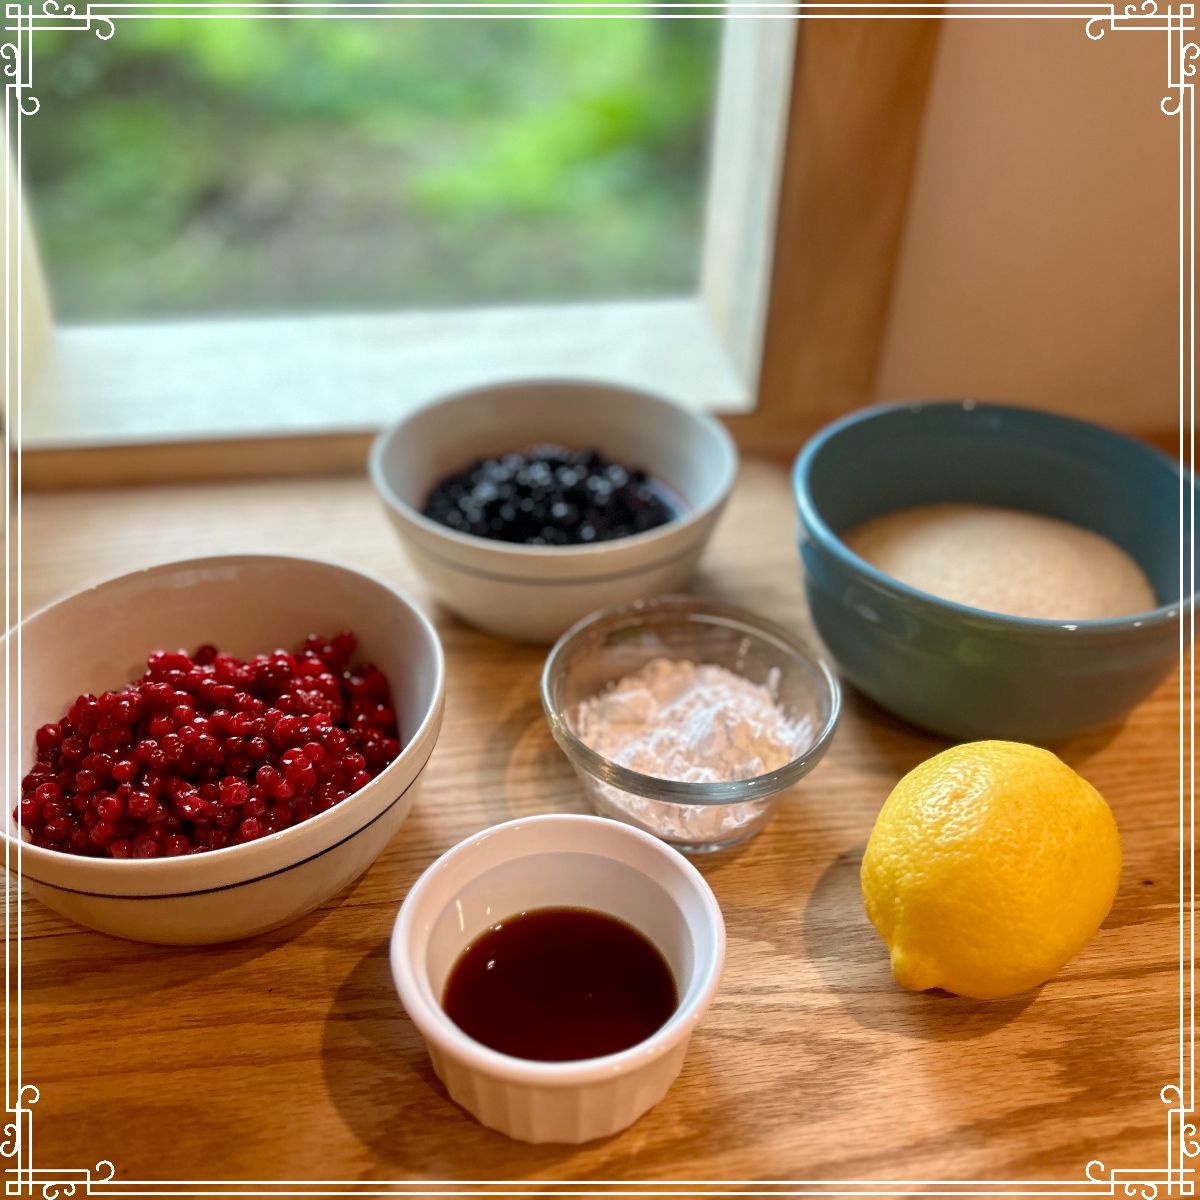
HUCKLEBERRY & LINGONBERRY FILLING INGREDIENTS
1 ⅔ cup frozen huckleberries 1 ⅔ cup frozen lingonberries 1 ½ cups granulated sugar 1 tsp vanilla extract 5 tablespoons of cornstarch or 10 tablespoons of arrowroot powder Zest from half a lemon
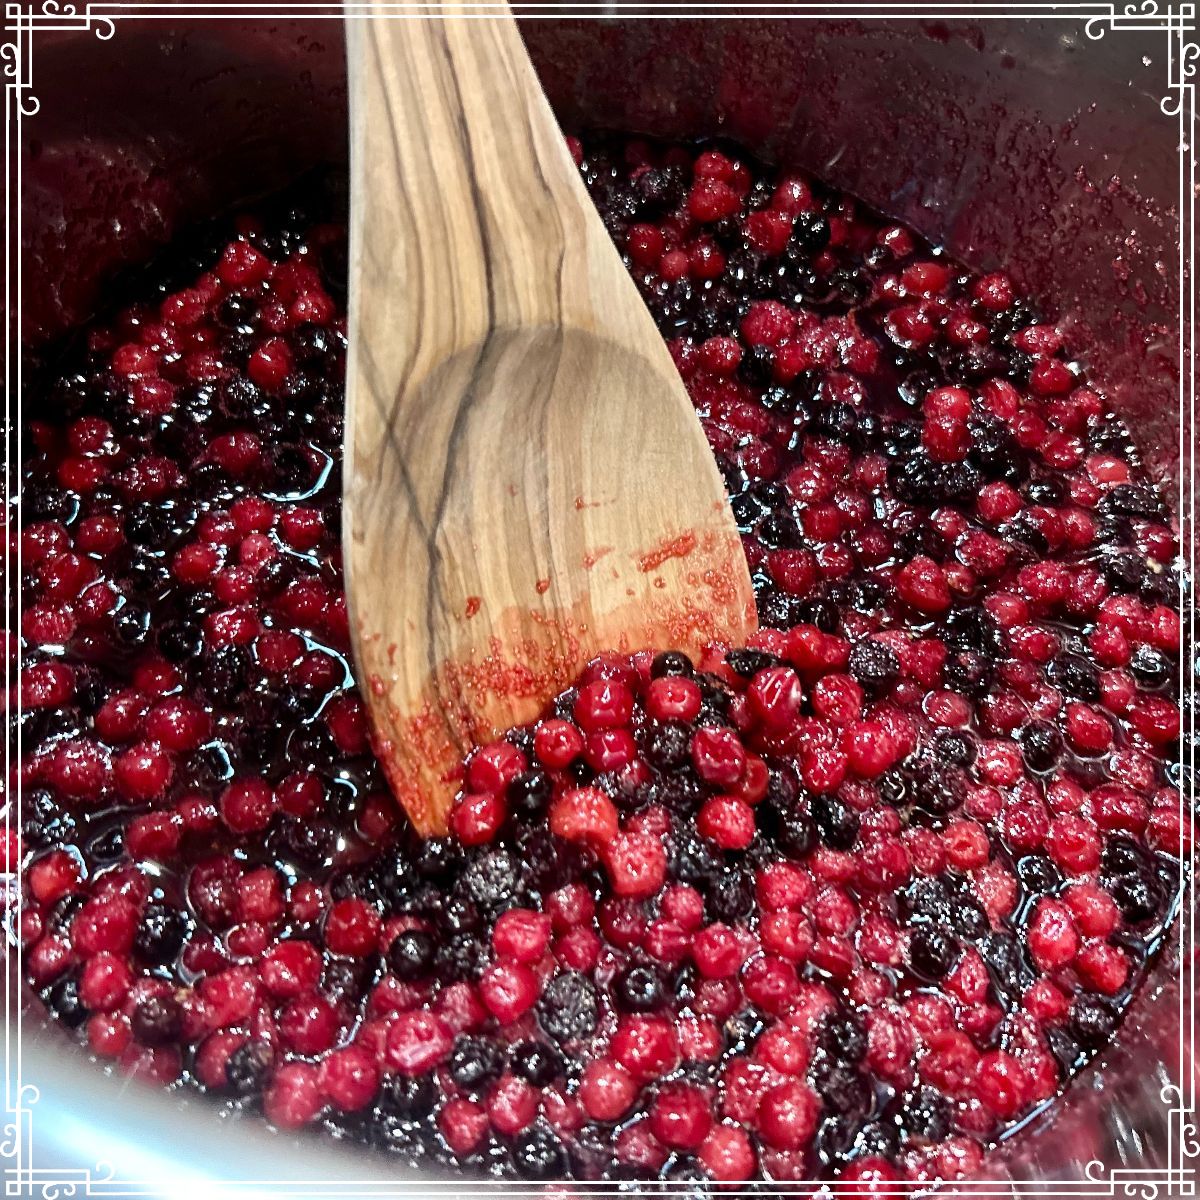
1. While the pie crust is chilling, combine the berries, sugar, and zest in a large heavy bottomed pot. Simmer over medium heat until the berries release their juices, about 5-10 minutes. Taste for sweetness, and adjust as desired.
2. Remove a few tablespoons of berry juice from the pot and combine it with cornstarch to create a slurry. Add the cornstarch slurry to the pot with the berries and stir until thickened, smooth, and bubbly. This can happen very quickly, but may take up to 5 minutes.
3. Remove from heat and stir in the vanilla. Transfer to a container to cool for 15-20 minutes. Assemble and bake the pie 1. While the filling is cooling, prepare your lattice as desired with the second disk of dough. If you prefer not to make a pie lattice, simply roll out the second disk to be the same size as the first. 2. Remove the chilled base from the fridge, and add the filling. Cover with the lattice. If you do not make a lattice, be sure to cut vent holes in the top of the pie for the steam to escape. 3. Refrigerate the assembled pie for 15-20 minutes before baking to prevent it from losing shape in the oven.
4. Bake on the middle rack at 425 degrees F for 15 minutes.
5. Reduce the temperature to 375 degrees F and continue to bake for 30-40 minutes, or until the filling is bubbling and the crust is golden brown. If it’s browning too quickly, cover the pie with foil as it bakes.
6. Remove from the oven and allow to cool completely before serving. Store any leftovers in an airtight wrapping or container for up to 1 week in the fridge. With sweet berry smells wafting through the kitchen, everyone has been hungerly anticipating a piece of the pie. Once the pie comes out of the oven, there is the agonizing, yet vital, wait for the pie to cool. This part is important. The juices need to cool to help the pie hold its shape. But I promise, it is well worth the wait! Once cooled, enjoy! Pie crust recipe modified from https://www.confettiandbliss.com/flaky-quiche-cru...