Congratulations, your plants have arrived! Now, time for the fun part - make them a home!
Receiving Potted Plants
Carefully remove the potted plants from the box. Place potted plants in the shade and give them water for 24-48 hours as they transition from the shipping box. During this time, try to keep them out of excess heat or cold (and away from animal predation). Ideally, they should be planted within a week of arrival. If, however, you can't plant your potted plant (e.g. due to weather), you can temporarily place your potted plant inside near a south-facing window for up to a month (be careful not to over water).
NOTE: Most of our plants come in plantable eco-pots made of cow manure. However, our XL and XXL sizes now come in plastic pots. If they are in a plantable eco-pot, they can only stay in a home or greenhouse for up to one month before being potted up or planted out. Refrain from handling the pots when they are wet.
Receiving Bare Root Plants
Carefully remove the bare root plants from the box. As long as you keep them moist and in the shade, you can keep them in their original burlap and sawdust packaging for up to 1 week. During this time, keep them out of excess heat or cold and away from animal predation. Do not soak in water. Plant as soon as the ground is workable.
If you need to store them longer, you can bury the roots in moist sawdust (or similar medium), either outside or in a garage. If they remain moist, they can be held this way safely for up to a month or until they are ready to plant. If the bare root plants have broken dormancy and your temperatures are below 25 degrees, its best to pot them up and bring them inside next to a window. Do NOT overwater.
See our instructional blog post HERE or our instructional video HERE for more information.
Garden Design
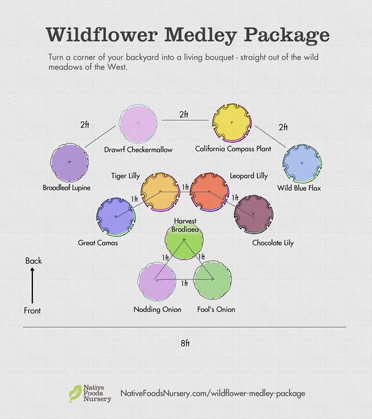
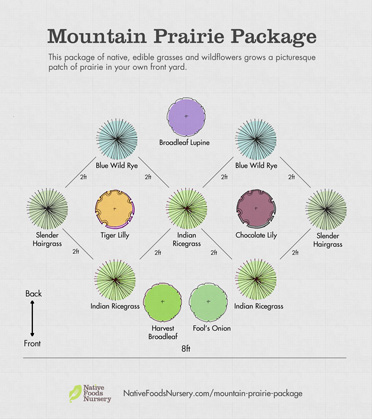
First things first. Before planting - hopefully you’ve put some thought into your garden needs and garden design. If not, here's the basics:
Primary plant considerations include amount of water, light, temperature, soil type, and spacing between plants. Reference the plant pages on our website to understand the needs of the species you purchased. Find a place in your yard that meets those needs, or make modifications to make your plant feel at home. Lastly, it’s nice to bring plants together that enjoy one another’s company - so consider how they might co-evolve over time!
If you need some help with design, please check out our landscaping services. We’re more than happy to offer some advice and give a quote on our consulting and design services.


Planting
Preparing the Hole
Once you know where your plant is going, dig a hole two times the width of the pot, and almost as deep at the pot is tall. Pack down the dirt firmly at the bottom of the hole (to prevent settling, which can lead to crown rot).
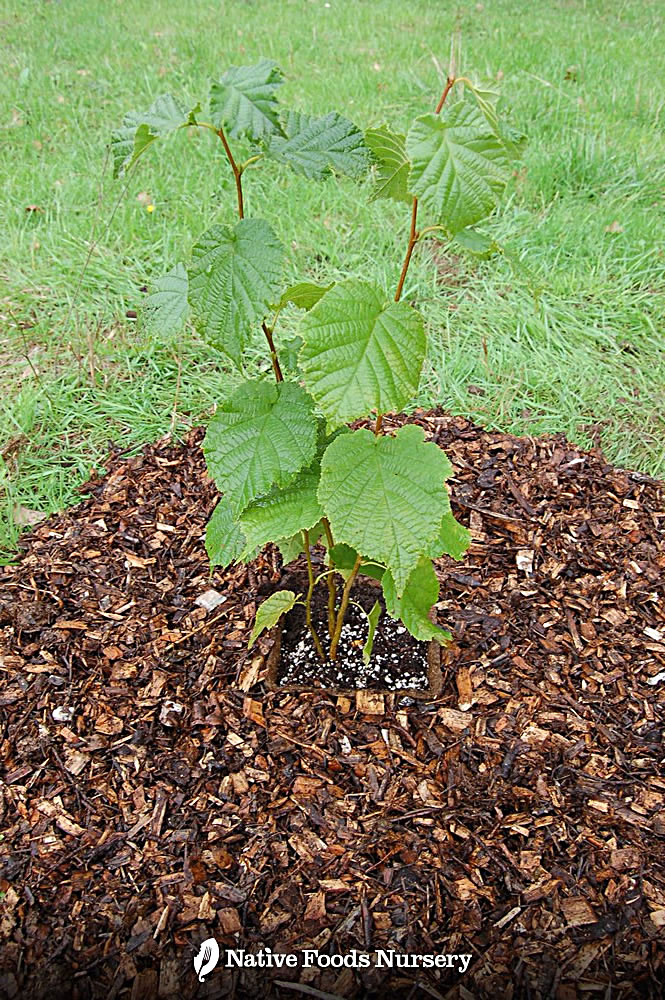
If you have a plant in a plantable eco-pot, place the entire pot in the hole. It will lessen root disturbance and fertilize! Then, test the depth. The soil line of the surrounding garden soil should be the same level as the soil line within the eco-pot. The edges of the eco-pot should rise slightly above (see pictures below).
If you have a plant in a plastic pot, place your fingers over the top of the pot, and around the stem of the plants. Turn the pot over, and slide off the plastic pot, so the plant is upside down resting on your hand. Then using both hands, turn the plant right side up and place in the planting hole, disturbing the roots as little as possible. In the rare instance that your plant is root bound, you can massage the edges of the roots to loosen them before filling the hole.
 |
 |
 |
Fertilizing and Mulching
If your soil is poor in nutrients, you can mix organic fertilizer and/or compost with the soil you've removed from the hole (before returning it). If your soil is too heavy, you can mix in organic matter or sand. Refill the hole evenly, packing the soil firmly around the eco-pot to the height of the soil line in the pot (or around the plant roots to the original soil line). Again, if your plant is in an eco-pot, the edges of the eco-pot should rise slightly above.
Then, spread organic compost and mulch (wood chips, bark chips, straw, etc.) on the ground around the eco-pot, up to the edge of the exposed lip of the pot. The lip of the eco-pot will help prevent mulch from settling against the sensitive stem of the plant, while creating a mini-reservoir for holding water. If your plant is not in an eco-pot, simply leave a 6" space around the stem free of mulch.
Water the plant and the mulched area surrounding. If you have an eco-pot, the pot will biodegrade naturally, and provide fertility for your young plant!
Establishment
Maintaining proper irrigation, especially during summer, is often the most critical act of care. Protecting your plant from animal predation is often a close second. This may require a deer fence/cage or a gopher cage around the roots/bulbs. Third, keep your plant's root zone free of weeds while it's growing into it's home.
Keep special attention on the plant during the first few weeks, and then more attention through the first season. Keep your eye out for early warning signs of waning health - discolored, wilting or wildlife-nibbled leaves are often the first indicators. From there, adjustments can be made to water or fertility or protection to restore vitality before it's too late.
Once established, native plants become very resilient - but initially it’s good to offer extra love and care.
Relax and Enjoy
Give yourself a pat on the back and smile - you’ve just done a good thing - and not just for you. You’ve helped strengthen your local ecology, clean the air and water, provide habitat for native critters; and have made the world a little bit better place - one resilient, edible plant at a time!
